
You’ve registered a domain, chosen a hosting plan, and you’re ready to build your website. There’s just one problem: the hosting dashboard is open, and you’re not quite sure what to click next.
That’s where how to install WordPress becomes an important question for beginners.
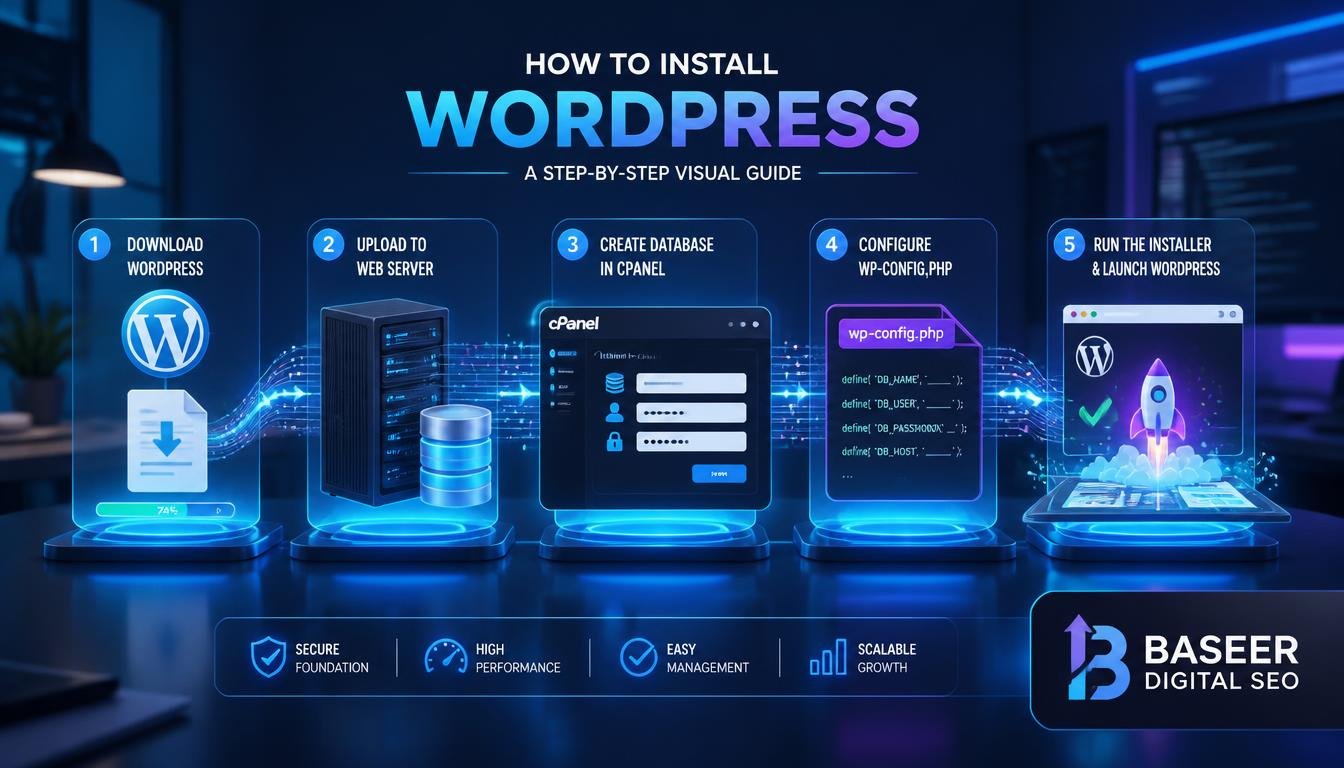
The good news is that installing WordPress is usually much easier than it first appears. Most modern hosting providers offer automated installation tools that can get a basic site running within minutes. If you prefer more control, you can also install WordPress through cPanel, Softaculous, FTP, or a completely manual setup.
This guide explains each practical method step by step. You’ll also learn what you need before starting, how to configure your new website, how to deal with common WordPress installation problems, and what you should do immediately after your site goes live.
Whether you’re creating a small business website in Manchester, launching a consulting business in Toronto, or building a portfolio for clients in Austin, the basic WordPress installation process remains largely the same.
What Is WordPress and Why Is It So Popular?
WordPress is an open-source content management system (CMS) used to create and manage websites. You can use it for a simple blog, a professional business website, an online publication, an e-commerce store, a membership site, or a portfolio.
One reason WordPress remains popular is that you don’t need to be a professional developer to get started. Themes control the appearance of your site, while plugins can add features such as contact forms, SEO tools, security controls, analytics, online stores, and booking systems.
There are two different WordPress experiences that beginners should understand:
- WordPress.org provides the self-hosted WordPress software. You download or install the software through your hosting provider and manage the website yourself.
- WordPress.com is a hosted service where much of the technical setup is handled for you.
This guide focuses on self-hosted WordPress, which gives you considerably more control over your website, themes, plugins, hosting environment, and customization.
That flexibility is particularly useful for businesses that want to build their website around their own brand and long-term marketing strategy.
What You Need Before Installing WordPress
Before beginning your WordPress installation, make sure you have a few essentials ready.
1. A Domain Name
Your domain is the web address visitors will use to find your site, such as yourbusiness.com, yourbusiness.co.uk, or yourbusiness.ca.
You can purchase a domain separately or register one through your hosting provider.
2. WordPress Hosting
Your website needs a server where WordPress files, databases, images, and other resources can be stored.
Good WordPress hosting should provide:
- A supported PHP version
- MySQL or MariaDB database support
- SSL/HTTPS
- Reliable server performance
- Regular backups
- Adequate storage and bandwidth
- A simple management dashboard
For a new business website, you usually don’t need an expensive hosting package. Start with a plan that matches your expected traffic and upgrade as the site grows.
3. Hosting Login Details
Keep your hosting username and password available. If you plan to use FTP, you’ll also need your FTP or SFTP credentials.
4. SSL Certificate
Your website should use HTTPS rather than plain HTTP. Most reputable hosting providers offer SSL certificates, often at no additional cost.
5. A Modern Web Browser
That’s all you need on your side for an automated installation. Manual installations require a few additional details, which we’ll cover later.
Before starting, it’s also worth checking your hosting environment against the current WordPress requirements. Hosting providers usually configure supported PHP and database versions for you, but older hosting plans may need an update.
How to Install WordPress Using an Auto Installer
For most beginners, an automated installer is the easiest way to install WordPress.
Instead of manually creating databases and uploading hundreds of files, the hosting platform handles most of the technical work for you.
The exact interface depends on your hosting provider, but the process usually looks like this:
- Log in to your hosting account.
- Find the website or application installation section.
- Select WordPress.
- Choose the domain where you want to install it.
- Enter your website name.
- Create an administrator username and strong password.
- Complete the installation.
- Open your WordPress dashboard.
The installation tool normally creates the database, uploads the required files, and connects everything automatically.
How to Install WordPress on Hostinger
If you’re looking at how to install WordPress on Hostinger, the process is handled through Hostinger’s hosting dashboard.
The exact interface can change over time, but the general workflow is straightforward:
- Log in to your Hostinger account.
- Open the website management area.
- Choose the option to create or manage a WordPress website.
- Select your domain.
- Enter your administrator account details.
- Choose any available setup options.
- Complete the installation.
Once the process finishes, you can normally access the WordPress administration area by visiting:
yourdomain.com/wp-admin
The important thing to remember is that hosting dashboards can change. If a button or menu has moved, look for terms such as WordPress, Website, Applications, or Auto Installer.
Installing WordPress on Other Hosting Providers
The same basic approach applies to many popular hosting companies.
Providers such as Bluehost, SiteGround, GoDaddy, IONOS, and Namecheap may use different dashboards, but the principle behind how to install WordPress on hosting remains similar: choose WordPress, select the domain, enter your site details, and start the installation.
How to Install WordPress Using cPanel and Softaculous
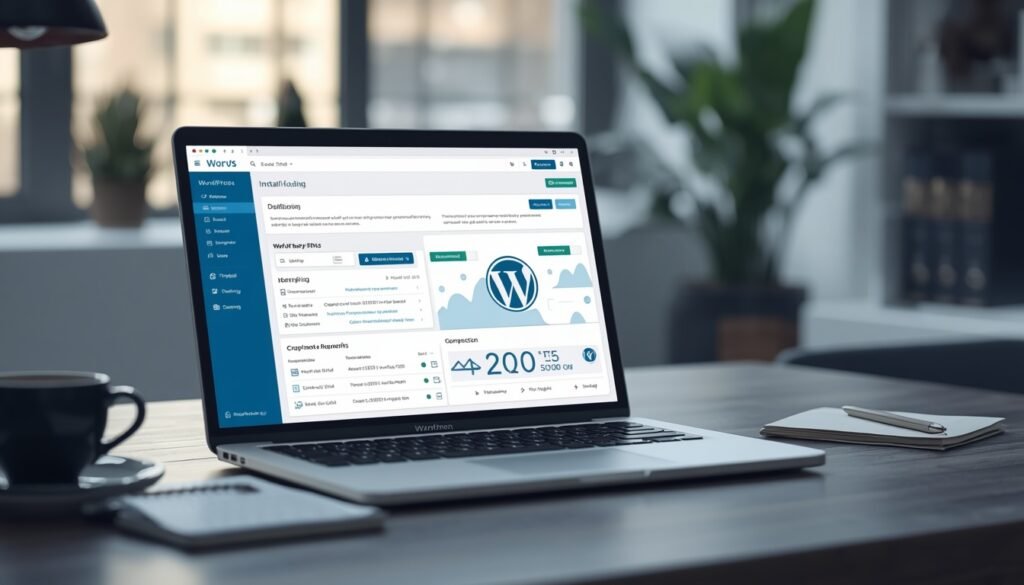
Many traditional hosting providers use cPanel as their website management interface. If your hosting account includes Softaculous Apps Installer, you can use it to complete the installation without manually creating every WordPress component.
How to Install WordPress Using cPanel
Start by logging in to your hosting account and opening cPanel.
Look for Softaculous Apps Installer, WordPress Manager, or a similar application section.
Then:
- Open Softaculous or your hosting provider’s WordPress installer.
- Select WordPress.
- Click the installation option.
- Choose your domain.
- Select
https://if SSL is already active. - Leave the installation directory blank if WordPress should load directly from your main domain.
- Enter your website name.
- Create an administrator username.
- Create a strong administrator password.
- Enter your email address.
- Review the settings.
- Start the installation.
If you want WordPress installed at yourdomain.com/blog, you can enter blog as the installation directory.
How to Install WordPress With Softaculous
The advantage of install WordPress with Softaculous is that most technical work happens automatically.
Softaculous can create the database, upload WordPress files, and complete the initial configuration for you.
One important security tip: avoid using admin as your administrator username. A unique username makes automated login attacks slightly harder.
If your hosting provider uses Plesk or a custom dashboard instead of cPanel, don’t worry. Look for a WordPress installer or application manager. The terminology may differ, but the basic process is similar.
How to Install WordPress Manually
An automated installer is convenient, but there are situations where you may need to complete a WordPress manual installation.
Your hosting provider may not offer an automatic installer, or you may simply want greater control over the setup.
Manual installation takes a little longer, but it helps you understand how WordPress actually works behind the scenes.
Step 1: Download WordPress
Download the latest WordPress package from the official WordPress website.
Avoid downloading WordPress from unknown third-party websites. Using the official software source reduces the risk of installing modified or malicious files.
Step 2: Create a Database
WordPress stores much of its website information inside a database.
Depending on your hosting provider, you may create one through cPanel, a database management tool, or your hosting dashboard.
Typically, you’ll need to:
- Create a database.
- Create a database user.
- Assign the user to the database.
- Grant the necessary privileges.
- Save the database name, username, password, and host information.
Keep these details available because WordPress will need them during setup.
Step 3: Upload the WordPress Files
Extract the WordPress package on your computer.
Upload the contents of the WordPress folder to your website’s document root, which is commonly named something like public_html.
You can use your hosting provider’s File Manager or an FTP/SFTP client.
Step 4: Configure wp-config.php
WordPress uses the wp-config.php file to connect the software to your database.
You can create this file from the provided sample configuration file and enter the required database details.
The file also contains security keys that should be unique to your installation.
Step 5: Complete the Installation
Once the files are uploaded and the database is ready, open your domain in a browser.
WordPress should guide you through the final setup.
You’ll normally provide:
- Site title
- Administrator username
- Administrator password
- Administrator email
- Preferred language
After completing the form, WordPress creates the installation and gives you access to the dashboard.
How to Install WordPress Using FTP
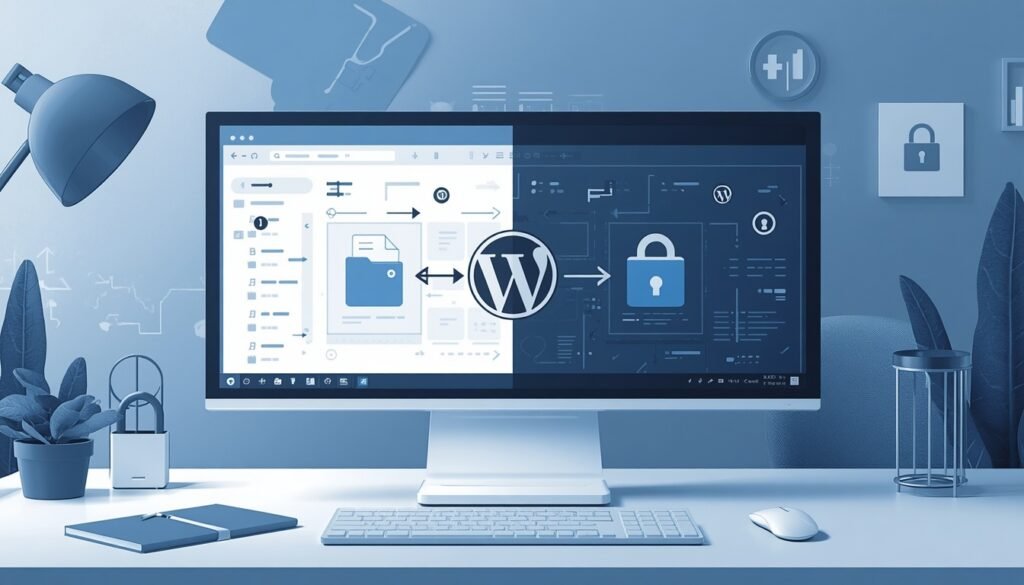
If you’re wondering how to install WordPress using FTP, the process is essentially about transferring WordPress files to your hosting account and connecting them to a database.
FTP stands for File Transfer Protocol. For better security, use SFTP whenever your hosting provider supports it.
What You Need
You’ll need:
- An FTP/SFTP client
- Your hosting server address
- FTP/SFTP username
- FTP/SFTP password
- Port information
- WordPress files
Popular FTP clients include FileZilla and Cyberduck.
WordPress Installation Steps Using FTP
- Download WordPress from the official source.
- Extract the downloaded archive.
- Open your FTP/SFTP client.
- Connect to your hosting account.
- Navigate to your website’s document root.
- Upload the WordPress files.
- Create your database through your hosting control panel.
- Configure the database connection.
- Open your domain in a browser.
- Complete the WordPress setup process.
Depending on your internet connection and server, uploading the files may take several minutes.
If the transfer fails halfway through, reconnect and check whether your FTP client can resume the upload rather than starting again from scratch.
How to Install WordPress on a Subdomain
A subdomain can be useful when you want to keep a separate WordPress installation away from your main website.
For example, a business might use:
yourbusiness.com
for its main website and:
blog.yourbusiness.com
for a separate WordPress publication.
To install WordPress on a subdomain, follow these general steps:
- Create the subdomain through your hosting dashboard.
- Confirm its document root or destination folder.
- Open your WordPress auto installer.
- Select the new subdomain.
- Complete the WordPress installation.
- If installing manually, upload WordPress to the subdomain’s document root.
- Create a separate database where appropriate.
- Confirm that SSL/HTTPS works on the subdomain.
- Open the new subdomain and complete any remaining setup.
Remember that a separate WordPress installation generally has its own themes, plugins, users, settings, and database.
How to Configure WordPress After Installation
Completing the installation is only the beginning. Your next task is WordPress setup.
If you’ve been searching for how to set up WordPress correctly, start with the basic settings before installing a large collection of plugins.
Check General Settings
Open the WordPress dashboard and review:
- Site title
- Tagline
- Website URL
- Administration email
- Time zone
- Date format
- Time format
Make sure your website URLs use HTTPS if your SSL certificate is active.
Configure Permalinks
Go to the Permalinks section and choose a clean URL structure.
For many websites, the Post name structure is a simple option because it produces readable URLs.
For example:
yourdomain.com/how-to-install-wordpress/
is generally easier to understand than a URL containing a post ID.
Review Reading Settings
Decide whether your homepage should display your latest posts or a dedicated static page.
If the website is ready for public visitors, make sure you haven’t accidentally enabled an option that asks search engines not to index the site.
Review User Accounts
Check the administrator profile and use a strong password.
If possible, enable two-factor authentication through a reputable security solution.
Common WordPress Installation Problems and How to Fix Them
Even a straightforward installation can occasionally fail. Understanding common WordPress installation problems can save you a lot of time.
Error Establishing a Database Connection
This usually indicates a problem with the database credentials or connection.
Check:
- Database name
- Database username
- Database password
- Database host
- Database user permissions
If everything appears correct, ask your hosting provider whether the database server is working normally.
White Screen or Blank Page
A blank page can be caused by a PHP error, plugin conflict, theme problem, or insufficient server resources.
If you’re troubleshooting a fresh installation, check the server’s error logs first rather than changing multiple settings at once.
Installation Failed
An automatic installer may fail if the destination folder already contains files.
Check for leftover files from an earlier installation attempt and make sure you’re installing WordPress into the intended directory.
SSL or Redirect Problems
If the site keeps redirecting between HTTP and HTTPS, check your SSL configuration and WordPress URL settings.
Make sure the website consistently uses the correct HTTPS address.
File Permission Errors
Incorrect permissions can prevent WordPress from reading or writing files.
Avoid setting everything to highly permissive values. If you’re unsure about the correct permissions, check your hosting provider’s documentation before changing them.
Domain Doesn’t Load
If you’ve just registered a domain or changed its DNS settings, the domain may need time to begin resolving correctly.
First confirm that the domain is pointing toward the correct hosting service. Then check the DNS records and hosting configuration.
What to Do After Installing WordPress
A fresh installation isn’t quite the same thing as a finished website.
Once WordPress is running, take some time to establish a solid foundation.
1. Confirm HTTPS
Make sure visitors are reaching your website through HTTPS and that there are no obvious certificate warnings.
2. Choose a Lightweight Theme
Select a theme that fits your site’s purpose without loading unnecessary features.
A simple theme with good performance is often a better starting point than an overloaded design packed with effects.
3. Install Only Essential Plugins
Don’t install plugins simply because they look interesting.
Depending on the website, you may need tools for:
- SEO
- Caching
- Security
- Backups
- Contact forms
- Analytics
Every plugin adds another component that needs to be maintained.
4. Set Up Backups
A backup gives you a way to recover your website if an update, plugin, configuration change, or server issue causes problems.
Ideally, keep at least one backup copy separate from the live hosting environment.
5. Create Important Pages
Most professional websites should have essential pages such as:
- Home
- About
- Contact
- Privacy Policy
- Terms and Conditions, where applicable
If your business serves customers in different jurisdictions, review the privacy and cookie requirements that apply to your audience.
6. Connect Analytics and Search Tools
Once your website is ready, connect appropriate analytics and search-performance tools so you can understand how visitors find and use the site.
WordPress Installation Best Practices
A few simple decisions during your WordPress installation can make website management easier later.
Choose Hosting Based on Your Needs
Don’t choose a hosting package solely because it has the lowest introductory price.
Look at:
- Server performance
- Backup options
- SSL availability
- Support quality
- Storage limits
- Renewal pricing
- Staging features
- Scalability
If most of your visitors are in the USA, UK, or Canada, consider a hosting provider and server location that can deliver good performance for those audiences.
Use Strong Credentials
Your WordPress administrator account is one of the most important security points on the website.
Use a unique password and, where available, enable two-factor authentication.
Keep WordPress Updated
Regularly update:
- WordPress core
- Themes
- Plugins
- Server software where managed by your provider
Before major changes, make sure a recent backup is available.
Use Trusted Themes and Plugins
Download themes and plugins from reputable sources.
Avoid pirated or modified premium plugins and themes. Besides legal concerns, unofficial packages can contain malicious code.
Consider a Staging Website
If your hosting provider offers staging, use it for significant changes.
A staging environment lets you test updates and design changes before applying them to the live website.
Frequently Asked Questions About WordPress Installation
How long does WordPress installation take?
An automatic installation can often be completed within a few minutes. A manual installation takes longer because you need to handle the files, database, and configuration yourself.
Is WordPress free to install?
The WordPress software itself is free and open source. However, you’ll normally pay for a domain name and web hosting. Premium themes, plugins, and other services may also cost extra.
Which WordPress installation method is best for beginners?
An automatic installer is usually the simplest choice. If your host provides Softaculous, that can also make the process straightforward.
Can I install WordPress without cPanel?
Yes. cPanel is not required.
Many hosting providers have their own dashboards, while manual installations can be completed through FTP/SFTP and a database management tool.
Can I install multiple WordPress websites on one hosting account?
In many cases, yes. It depends on your hosting plan and its resource limits.
You may be able to host multiple domains or subdomains under one account, although each WordPress website still needs appropriate resources.
Do I need coding knowledge to install WordPress?
No.
Automatic installation requires little to no technical knowledge. Manual installation is more technical, but you don’t need to be an experienced programmer to follow the process.
What should I do if my WordPress installation fails?
Start with the exact error message rather than changing several settings at once.
Check the database credentials, installation directory, DNS configuration, SSL settings, and server requirements. If the issue appears to be server-related, contact your hosting provider’s support team.
Conclusion
Learning how to install WordPress is one of those tasks that seems more complicated before you actually do it.
For most beginners, an automatic installer is the fastest route. If your hosting account provides cPanel and Softaculous, you can also complete the process with only a few clicks. Manual and FTP installation take more work, but they give you a better understanding of how WordPress files, databases, and hosting environments fit together.
Once WordPress is installed, don’t rush straight into adding dozens of plugins or changing your theme. First secure the website, confirm HTTPS, configure the basic settings, establish backups, and create the pages your visitors actually need.
A clean installation gives you the foundation. What you build on top of it is what turns a fresh WordPress setup into a useful website.




Leave a Reply